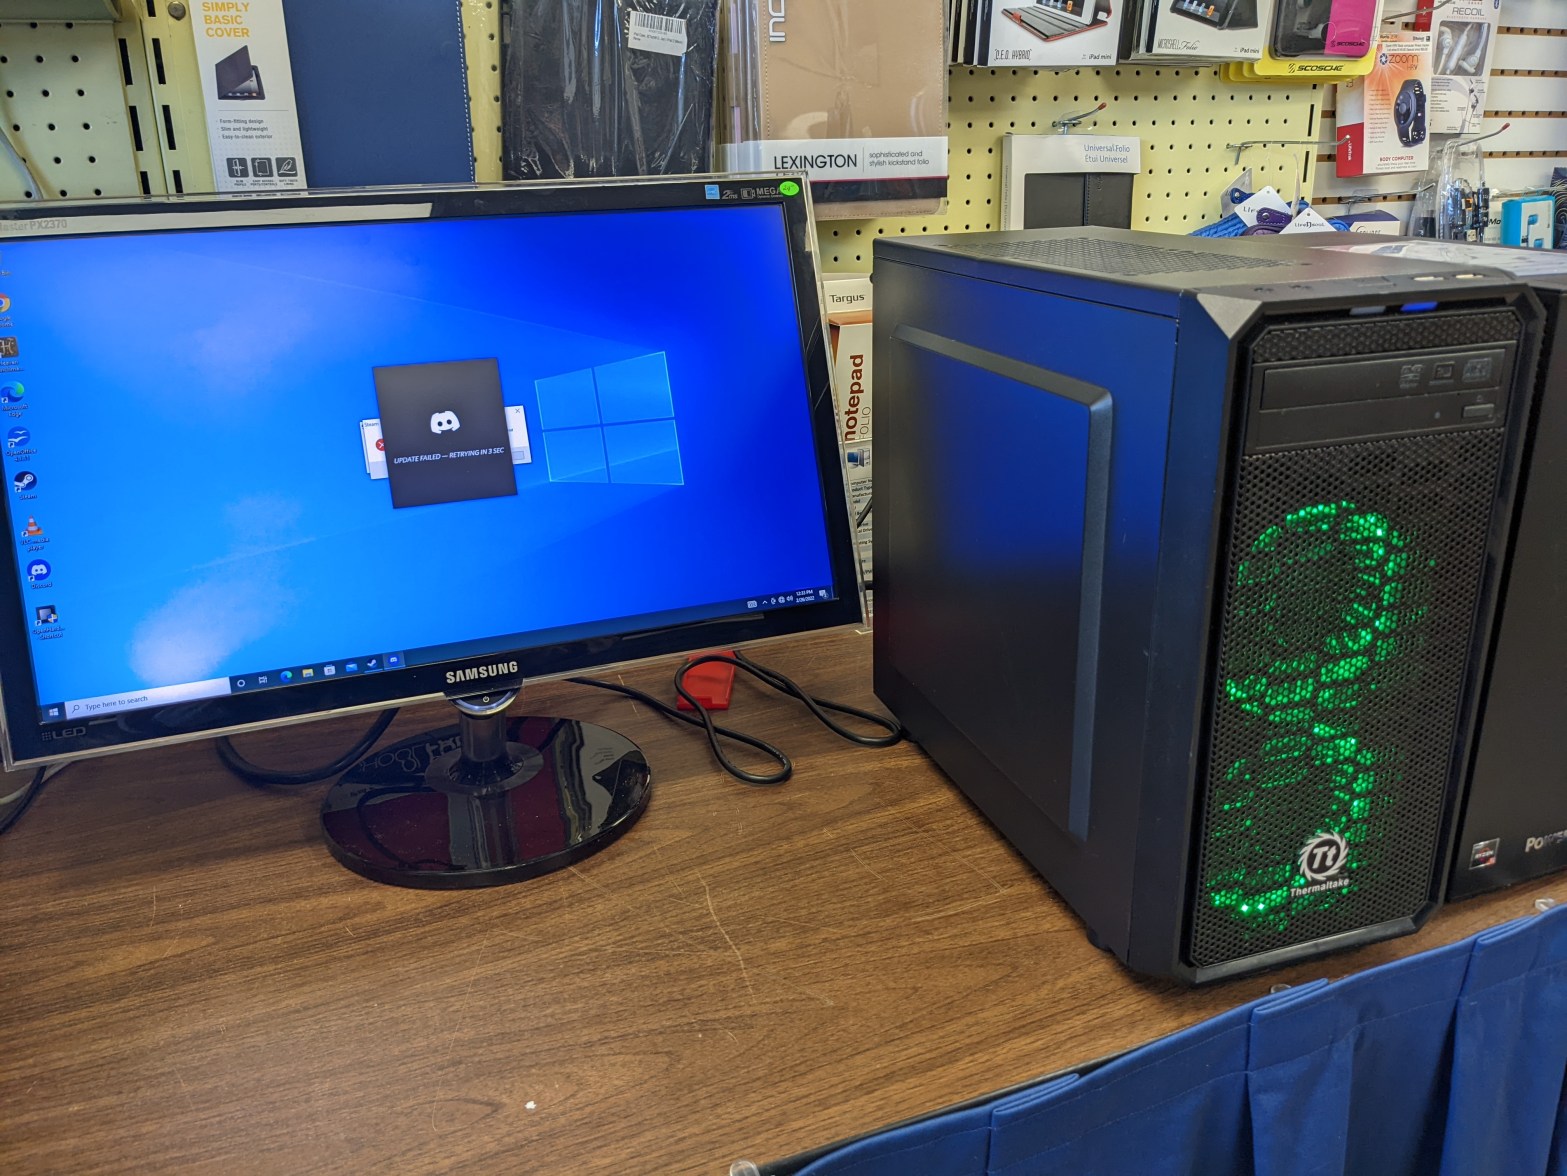
Unfortunately, I didn’t think to document much of this process while I was actually doing it; I only have a picture of the final product. Hopefully you don’t mind reading!
Every now and then people will bring in PCs to our store to sell or trade in. Usually they’re old laptops they can’t get any use out of (I can usually restore them to the point where we can sell them as budget machines, but I’ll have to talk about that some other time,) but every now and then someone brings in something cooler.
This young gentleman happened to bring in his old gaming PC. It was a custom-built job with a Thermaltake case and PSU, a Gigabyte motherboard, an Intel Core i5, and a NVIDIA GTX 1050. Decent specs for an entry-level rig, especially for its age. The problem was the dust.
This thing was dusty as all HELL. I wish I had taken a picture of it at this point, it was awful. Basically, wherever there was a way for air to get in or out, there was a thick layer of dust clogging it up, making sure that didn’t happen. Dust bunnies covered the bottom of the case, there was dust all over (and inside of) the graphics card and CPU heatsink, and don’t even get me started on the fans. This thing needed a total purge.
Though I didn’t really know where to start, I just started taking things out and trying to clean them. Let me tell you, every bit of it was a chore. It seemed like no cleaning cloth or solution on earth would get this thing to a presentable condition, but slowly but surely it was coming together. I took the CPU heatsink out and scrubbed every layer of metal with a damp paper towel, as well as the fan. I took that opportunity to repaste the CPU, who knows how long that thermal compound had been working. Next up was the graphics card.
The card was small, which was good for me since that meant not as much surface area to clean. The problem was where the dust was – it wasn’t just on the outside of the card or in the fan, it was all the way down, past the fan, past the heatsink, on the actual board, chips and capacitors. I had no choice but to start taking screws out. I took off the plate over the video ports, but the heatsink and front plate were still in the way. I feared taking off the heatsink because I had never repasted a GPU before, but if I wanted to get all the dust off, I had to. So I did; I wiped it clean, wiped the leftover thermal compound off, and faced my fears and repasted the chip.
Those were probably the hardest parts, especially putting the CPU heatsink back without ruining the thermal paste. I wrestled with the bracket for probably fifteen minutes. After that, I just had to wipe down the hard drive and its bay, the side panels, the bottom of the case, and whatever other parts of the motherboard I didn’t get while wiping down the CPU. But then there was the front panel and the intake fans.
The day before when we got the computer in, I had taken off the front panel and run some water over it and set it out to dry. It looked better, but there was definitely some dust left between the metal grate and the plastic frame behind it. Luckily, I noticed the next day that you could take off the metal grate part by bending some tabs. I took it off and scrubbed the dust out of what were crevices where they could escape my towel’s wrath. That’s probably the most noticeable improvement on the outside bar the side panels, which had their own share of stains and sticky residue before I scrubbed them with bathroom tile cleaner.
The heatsink and GPU may have been the hardest jobs, but the intake fans behind the front panel were probably the most tedious. First of all, one of them wouldn’t run at all. It would try to spin and then just sit idle, and the motor was warm to the touch. I thought it was just burned out, but after taking the fan blades out and digging some dust out of the motor, it started spinning again. I guess I’m just a miracle worker. The fan blades themselves were just annoying to try to get all the dust out of: they had this ring around them to catch the light from the LEDs around the fan which made it impossible to clean both sides of the fan blades effectively.
Eventually, though, I was able to get the PC to presentable condition and now it looks like this.

Hopefully it ends up in the hands of a gamer who loves it and takes care of it, because I don’t want all this work to go to waste!
